When you get married, many people ask you where you plan on honeymooning. It was amazing how many blank stares, "Where is that?" and polite, yet clueless, smiles and nods I received when I answered, "St. Kitts and Nevis." Although not as well known, my husband and I chose St. Kitts and Nevis as our honeymoon destination because we wanted to avoid the cookie cutter, touristy, Caribbean island getaway. Considering this was our main goal, along with plans for rainforest hiking, experiencing a local culture and a few days at the beach with fruity beverages....I would say St. Kitts and Nevis ended up being a
wonderful getaway. St. Kitts and Nevis is truly a place I would recommend visiting if you want the
true feel of the Caribbean (not the five star, all inclusive, not getting up from this beach chair for a week experience).
It is hard to sum up a week of experiences into one post (especially since I waited about 9 months to write this), but below are the high points of the trip to Nevis along with some stories that, with any luck, will get you thinking about your next getaway (or atleast start dreaming).
The Sights
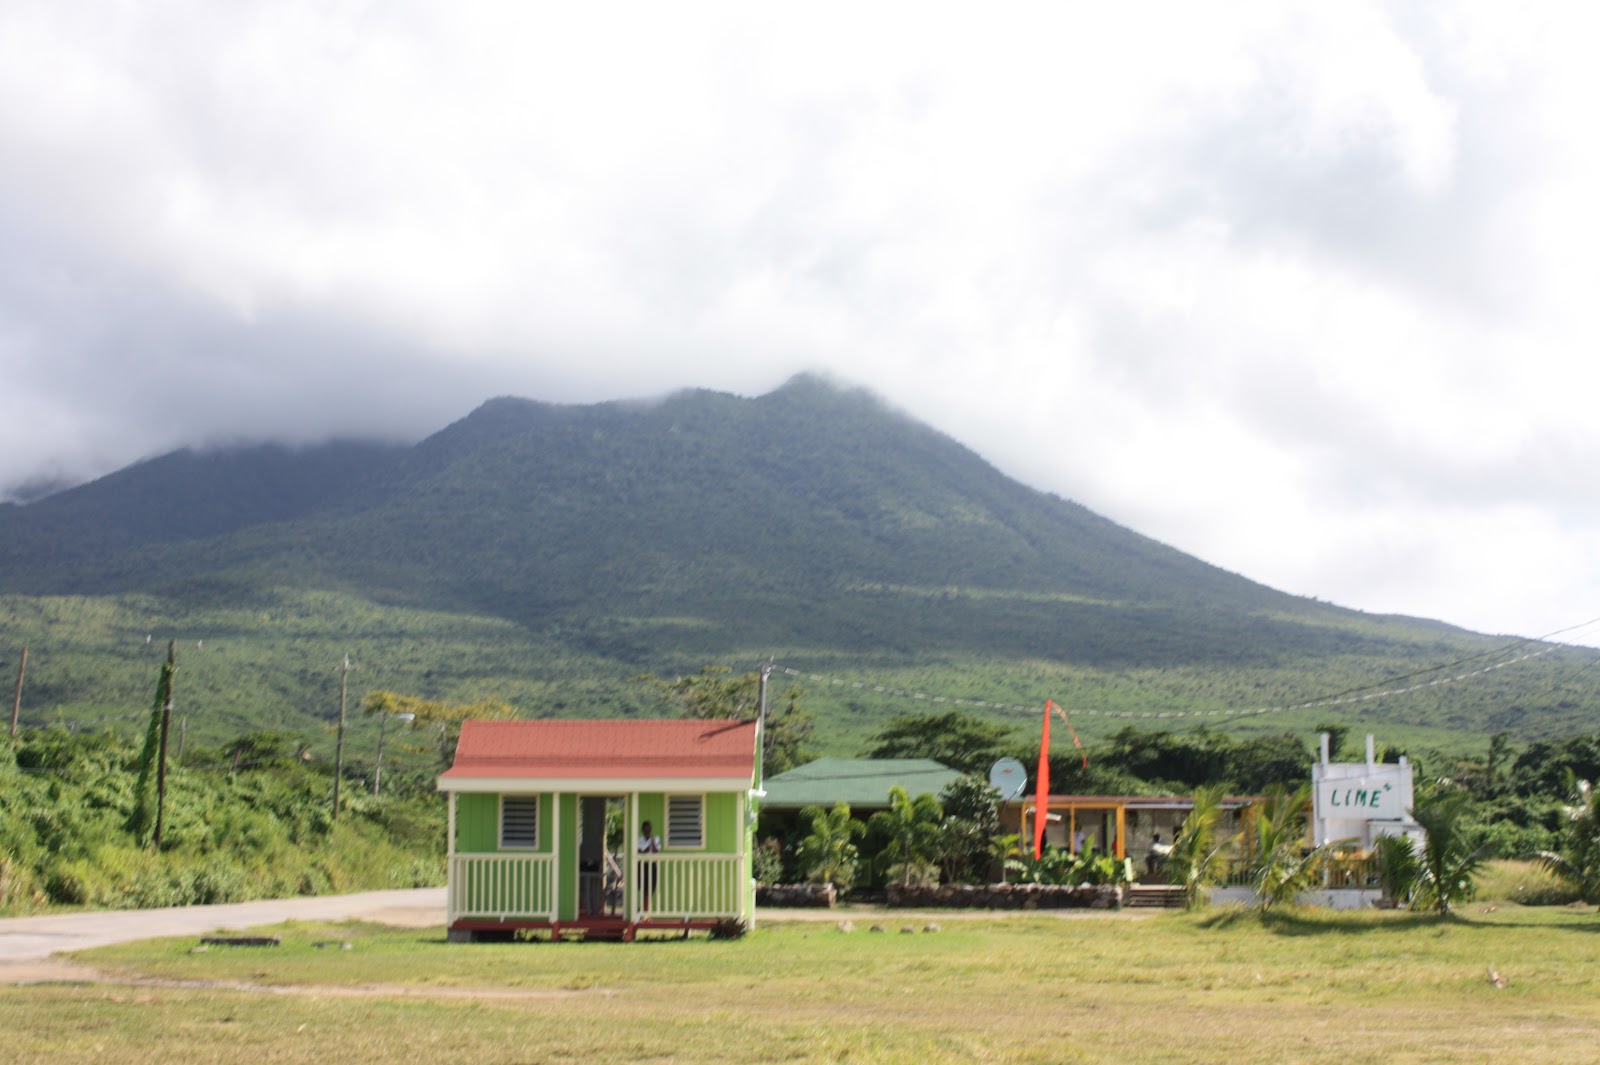
Nevis Peak
 |
| Cloud over Nevis Peak from Cockleshell Bay on St. Kitts |
Nevis Peak is the large dormant volcano making up the island of Nevis. With a stroke of luck you are able to see the top of the peak, but typically there is a large cloud hovering over the peak each day. We were fortunate enough to see the top as our ferry pulled out of the harbor the last morning we were there. The island actually received its name thanks to the presence of the overbearing cloud. The name Nevis is derived from the Spanish term
Nuestra Senora de las Nieves or "Our Lady of the Snows" because the cloud reminded Columbus of snow.
 |
| Using ropes and vines to climb |
Topping out at 3,232 feet, the volcano makes for a great 1/2 day hike, but you should hike to the top with a guide and you should prepare to get muddy. Unlike hiking in the Rockie Mountains, islanders don't seem to believe in switchbacks. Rather, hikes will lead you straight up the side of the mountain, using vines and ropes to pull you up the steep and muddy slope. Prepare to get a little dirty, but don't be too intimidated by the thought of hiking straight up through the mud. Islanders make the hike sound worse than it actually is, but I would recommend for people in pretty good shape. The hike was about 2-2.5 hours up and 1.5-2 hours down. Hiking down the volcano takes just about as much time as hiking up because the steep trail and slippery mud presents a bit of a challenge at times.
 |
| Muddy at the top of Nevis Peak |
I enjoy exerting energy to hike 14ers in Colorado because the views at the top are breathtaking. This hike is worthwhile because it makes you feel like you are a character in LOST, scrambling up vines and trekking through thick rainforest flora. The only view at the top is the people you are hiking with set against a sea of misty white, so you better hike with good looking people!
All in all this is definitely worth the experience, but make sure you go with a guide. We arranged our hike through Lynnell Lyburd, he seemed reliable and was a less expensive option compared to other guides we read about. He actually didn't show up for our hike but thanks to the help of our cab driver, Evan, we found and tagged along with another guy named Devito (who we gathered was maybe Lynnell's son?). Our guide not showing up still remains a mystery, but there are many sites available for finding other guides on the island as well as information at local hotels.
 |
| Hiking Nevis Peak - View from the 1/2 Way Point |
Charlestown
 |
| Downtown Nevis |
Charlestown is the downtown area of Nevis. If you take the ferry from Bassterre in St. Kitts you will walk straight into Charlestown from the Ferry dock. The main streets are alive with locals and have various shops and restaurants to explore. You can get a good feel of Charlestown just by walking around for an hour. This downtown area is also where you can catch buses heading both directions around the island. A few places worth noting around the downtown area are Jamakies and Cafe de Arts (two local eateries described below) and the birthplace of Alexander Hamilton (located next to Cafe de Arts). I have heard the museum at Alexander Hamilton's birthplace isn't worth the admission price, but you can atleast take a look if you grab a cool, refreshing drink at Cafe de Arts. If you want to buy local crafts, the best store we found was located in the small mall near the ferry terminal.
Hermitage Plantation Inn
 |
| Dinner Porch at Hermitage Plantation Inn |
If you don't stay here, the Hermitage Plantation Inn is worth a visit even if just for dinner. The outdoor patio is particularly beautiful at night once the sun sets and they turn on the lights hanging throughout the porch. The food is also delicious and is well worth the spend, particularly for a special occasion. The main entry is full of antique photos and plantation decor, and has plenty of books at photographs to look at while you wait for a table or sip on a refreshing cocktail. It is also fun just to walk around the grounds or take a look at the garden right outside the front of the restaurant.
 |
| The view of St. Kitts from Oualie Beach |
Oualie Beach
This is a great beach and it is easy to lose track of time just relaxing in the sun. Less crowded than Pinney's beach, Oualie Beach only has one main restaurant with pretty good food. The banana smoothie topped with fresh nutmeg was extremely refreshing and food was reasonably priced and delicious!
Pinneys Beach
One of the more touristy beaches on Nevis, Pinney's runs into the beach at Four Seasons Resort. The beach directly outside the resort is technically only for hotel guests, but if you pretend like you know what you are doing you can try to grab a seat and hope no one says anything, or hope the seats you sit in haven't already been reserved by another family. The part of Pinney's beach not associated with the resort is dotted with local restaurants, most of which provide some delicious rum punch. The killer bee at Sunny's is delicious
(and strong!) and lunch at Lime was not only delicious but had a soothing, relaxing atmosphere.
The Savory
Below are just a handful of restaurants on Nevis where we ate during the honeymoon:
 Bananas Bistro
Easily my favorite dinner on the island with delicious food and a wonderful atmosphere. Local art lines the walls on an open porch overlooking a lush garden. The black bean dip with friend plantains was an amazing appetizer and if possible, I would have tried everything on the menu.
Jamakies
A local eatery in Charlestown...not labeled and definitely not touristy. Prices are low and portions are huge, most meals consist of a beef stew, slaw, rice and beans. Delicious and perfect if you want to eat like the locals do. Everyone that came in to pick up their lunch knew the owner, Jamakie, and he was a very nice man. When I asked about the golden apple juice I had ordered, he brought out the apple he uses to make the juice and let us try it since it was something we couldn't have back home. A great place to stop for lunch!
Water Department BBQ
Another delightful experience of the local culture is the Water Department BBQ.
The night we went it was pouring, so no wonder there weren't the crowds and music we had heard about from our B&B hosts, guidebooks and other locals. Food consists of two options grilled chicken or grilled ribs, made by none other than employees of the local water department. Nevertheless, it was delicious!! If not for the rain we would have stayed there to eat, but instead we took our delicious food back to the B&B, which in my opinion, was just as fabulous as eating with the locals.
Sunshines
 |
| Candy wrapper art at Bananas Bistro |
For New Years, Sunshine's hosts a buffet dinner with unlimited Killer Bee Rum Punch, bonfires, fireworks, and a DJ. During dinner, music consisted of every single song you could ever think of that incorporated the word sunshine, sunny, sun, etc. They basically keep the Rum Punch flowing and the music going until the sun comes up the next day. Note- in island time, 7:30/8:00 really means 9:00. My husband and I showed up when dinner was supposed to start and found out the staff still hadn't come back from the break to refresh before the night began....luckily they let us help ourselves to the igloo cooler full of rum punch while we waited. Win for us.
Nisbet Plantation Inn
We didn't make it to Nisbet, but apparently the Thursday buffet accompanied by a night of dancing under the stars should not be missed!
Banyan Tree Bed and Breakfast -

I know plantations and resorts are appealing for a getaway, but we were blessed to have found Banyan Tree Bed and Breakfast. This B&B is on the southern part of the island and is a couple of miles from Charlestown (however, it isn't very walkable because of how steep the road is...unfortunate). If you want to feel like you are the only people on the island, Banyan Tree is a great place to stay. Rooms are tucked back on the expansive grounds and make you feel like you are in the middle of the rainforest. Monkeys roam the grounds and eat from the many fruit trees throughout the property. Breakfast is fresh and delicious, and the hosts are very gracious. When I had an allergic reaction to some fire ants they were more than welcome to let me test about every medicine available in their medicine cabinet (most of which was expired) and went to the garden to snip some fresh aloe to rub on the bites to sooth the pain. We had a great experience at the B&B and despite not being the best location on the island, I would definitely go back again.
 |
| Our Cottage at Banyan Tree Bed and Breakfast |

Unfortunately we didn't make it to all the sights Nevis has to offer, but if we ever make it back I will definitely add the beaches and attractions below to my hit list:
Lovers Beach (bathing suits optional)
Windward Beach
Nisbet Plantation Inn
Nevis Botanical Gardens
Four Seasons Hotel
Bon Voyage!